FONS
====
A recipe to make fonts out of bitmap images.
A little bit of history
-----------------------
In 2011, Pierre Marchand made with his own hands, in the laboratory of OSP, a creature called Fonzie.
Besides being cool, Fonzie was able to make a typeface out of scanned letters.
In his childhood, Fonzie asked for letters to behave well and to organize themselves.
They had to not hold hands and ordered themselves by the order of the Unicode.
The [Univers Else](http://osp.kitchen/foundry/universelse/) family was born.
In his teenage years, in 2013, Fonzie got more and more experienced.
He could decipher letters from a scanned page of a book by using OCR (Optical Character Recognition).
Fonzie could then read nice stories. But Fonzie is so cool that he’s going even further.
With all those *a*’s or all those *z*’s, he was drawing an average shape of all those instances of letters.
Fonzie collaborated with [ScanBot](https://hackerspace.be/ScanBot), a coarse book scanner,
product of the Dr. Michael Korntheuer, which could suck the pages with a vacuum cleaner to read the next page.
But ScanBot couldn’t make it through the winter, and Fonzie kind of got stuck in his sweet sixteen
and didn’t follow the new trends in the libraries of code. Today, it is rare to see Fonzie around;
nor Pierre Marchand whose new lazy landscape is made in [waend](http://waend.com/).
Fons is the spiritual son of Fonzie. He does not have much ambition (like to read novels and such).
He just wants to learn the alphabet, to be able to recognize the letters when we point at them.
He got [GlyphTracer 1.3](https://launchpad.net/glyphtracer) of Jussi Pakkanen, as a master.
GlyphTracer shouts glyphs and we would point at the letters on a scanned page.
When done, he autotraces in the command line limbo and generates a nicely wrapped .sfd font.
GlyphTracer went a step ahead and now autotraces the font with the Fontforge toolbox so that we keep
the history of the scan with the glyphs.
But Fons knew this was not enough. He has a good eye!
If you feed him with an unripe scan, GlyphTracer would give you marshmallow.
Fons then got trained by Pierre Huyghebaert, the bitmap master, and took good note.
This is the recipe that you have in your screen.
Tools needed
------------
- Gimp
- Autotrace
- python-fontforge
- Fontforge with Autotrace
- GlyphTracer (included with this package)
Preparing the image
-------------------
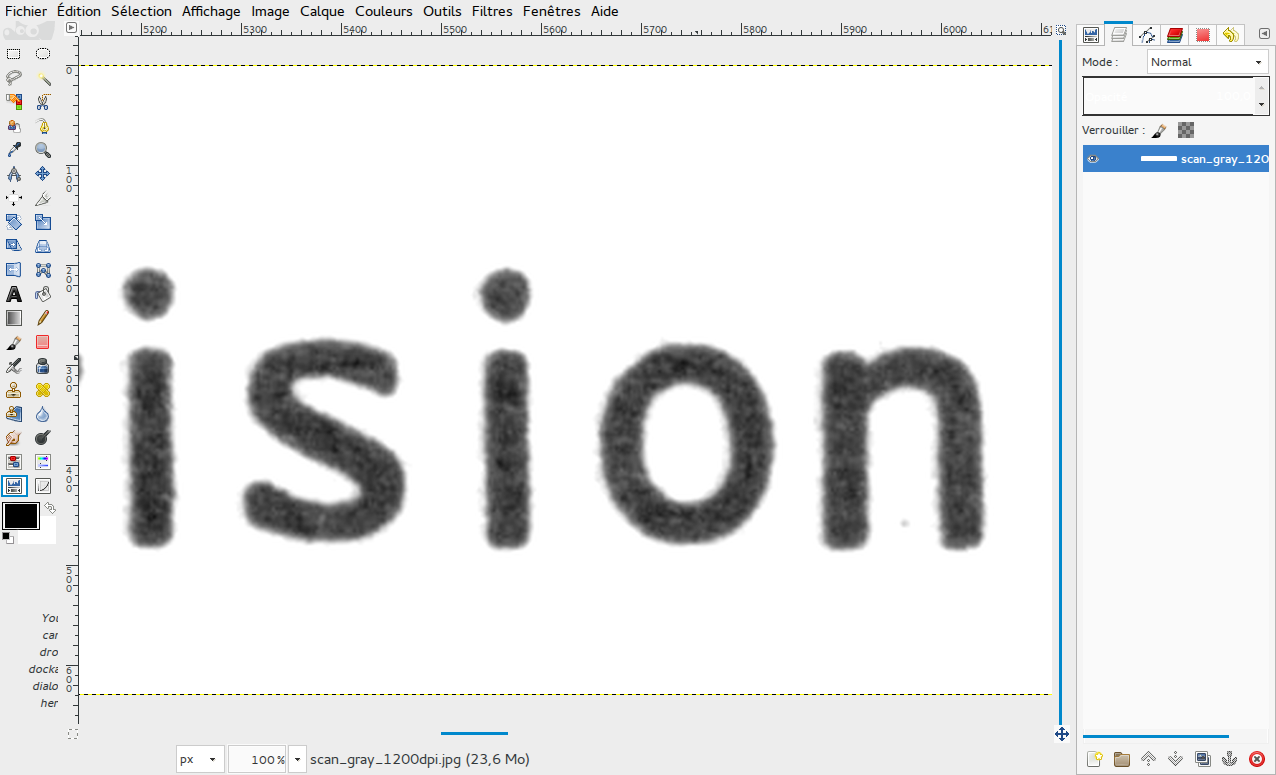
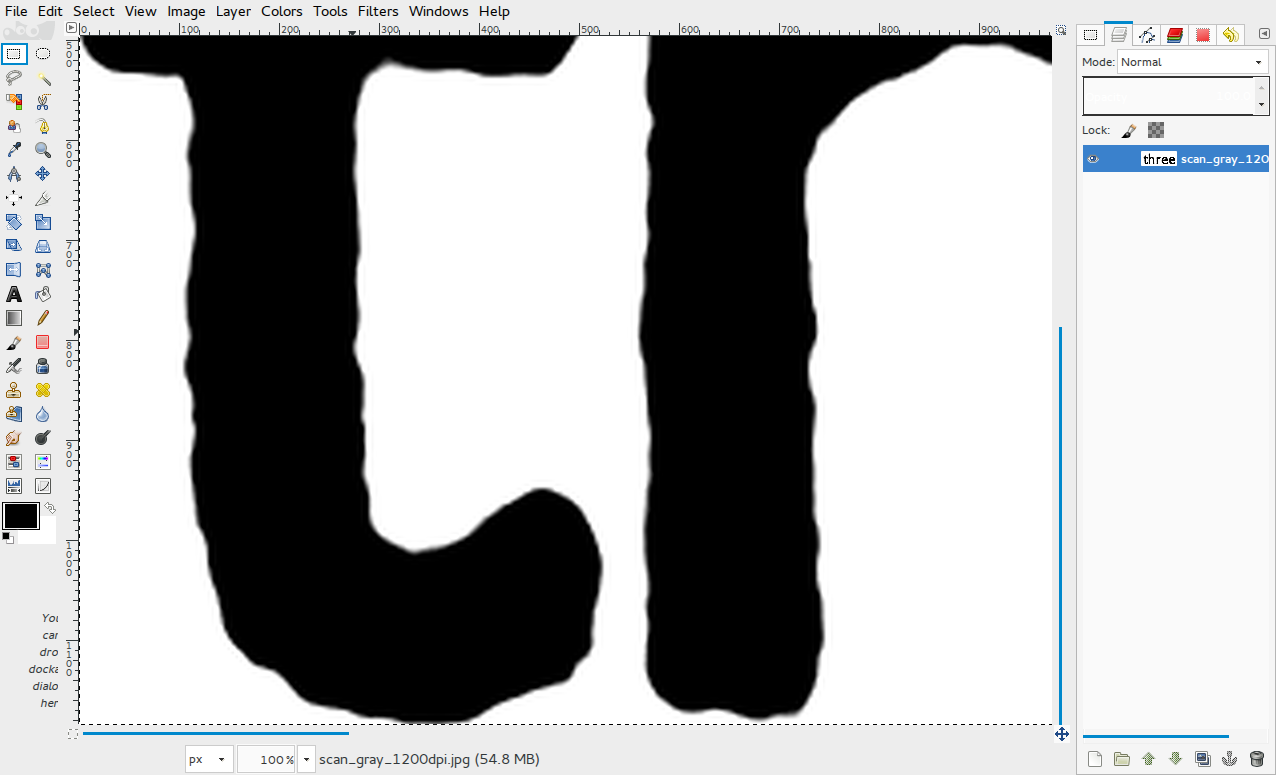
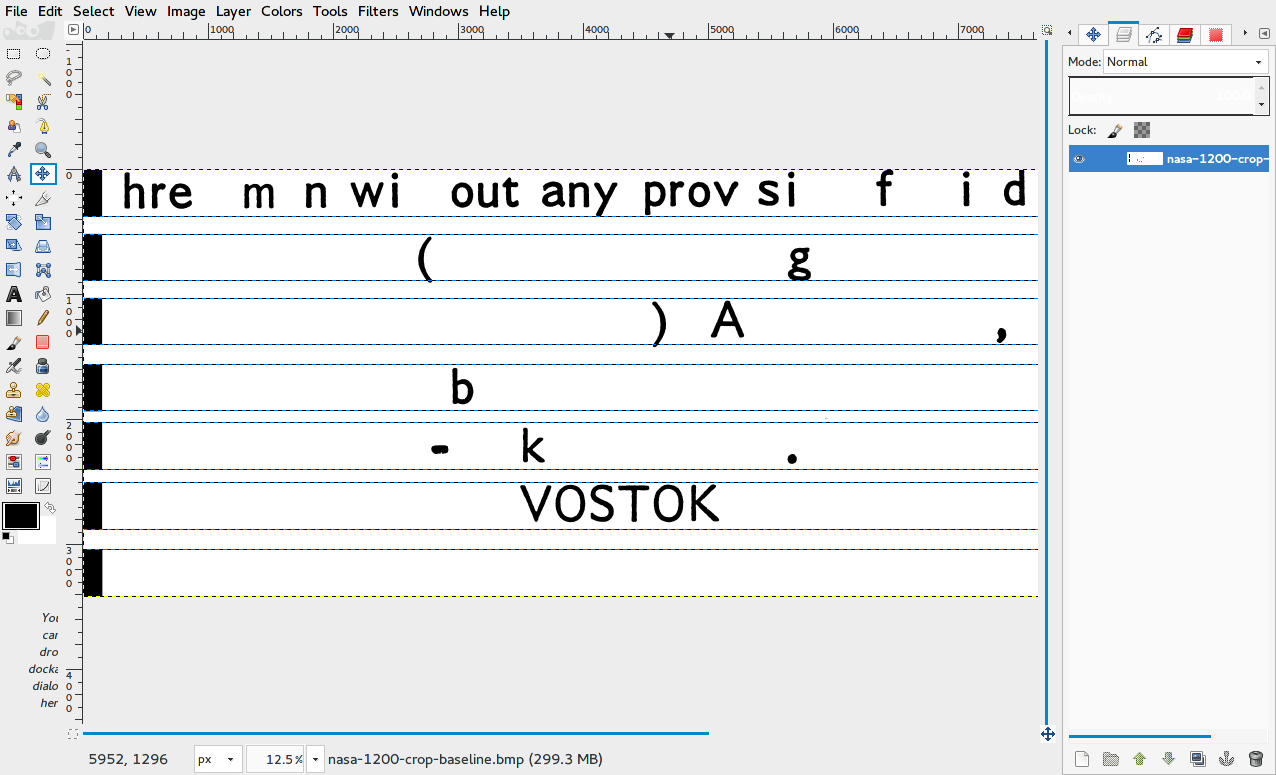
### Get a bitmap image of characters (crop unnecessary white parts for a faster process, you can use Gimp’s automatic crop for that).
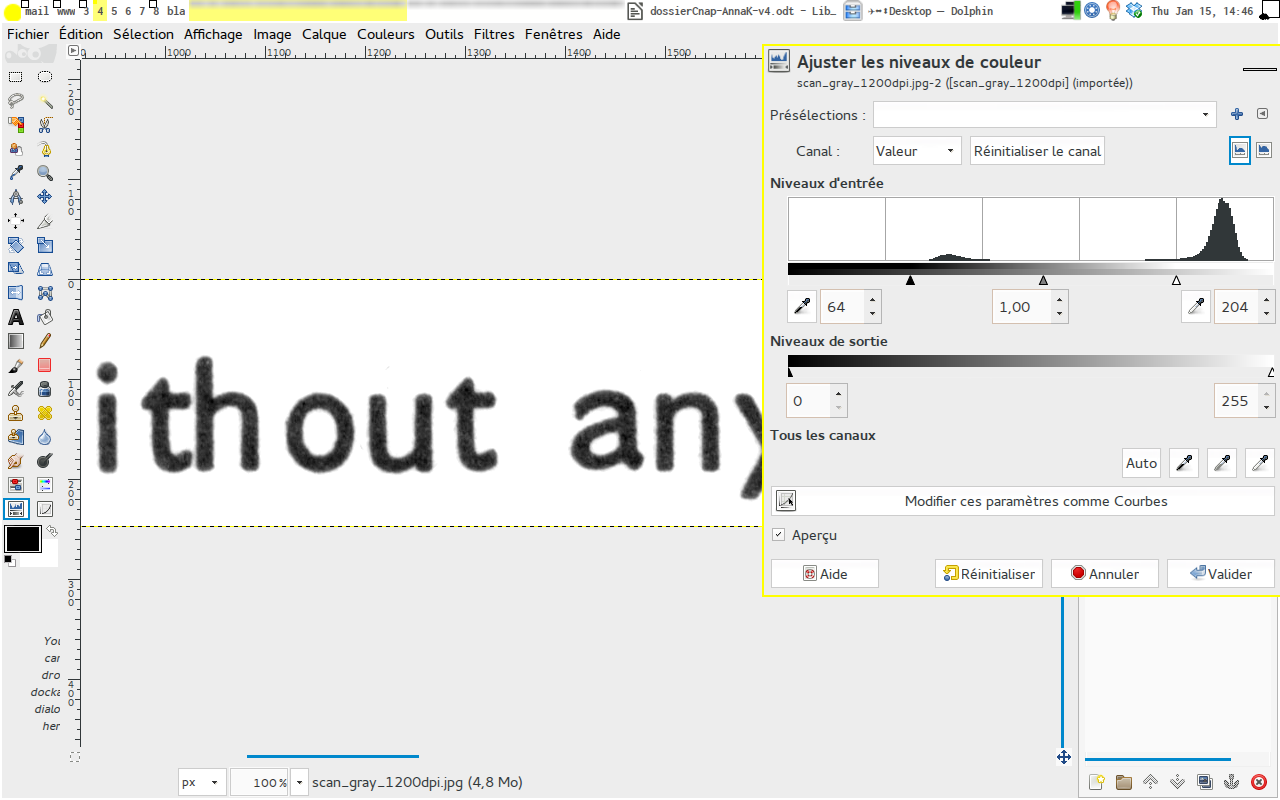
### Levels (have a white background, black characters but still shades of gray)
### Small boost
Scale up the image to something like 254% with the “Sinc (Lanczos 3)” algorithm. We choose on purpose a non-round number of scaling to break the bitmap patterns.
### Sharpen with “Unsharp mask”
Put the amount to the maximum and then search for the point where you don’t see
### Big boost
Scale up to 403%.
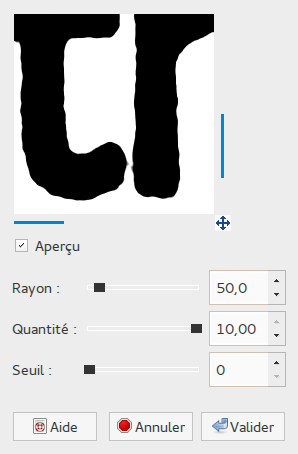
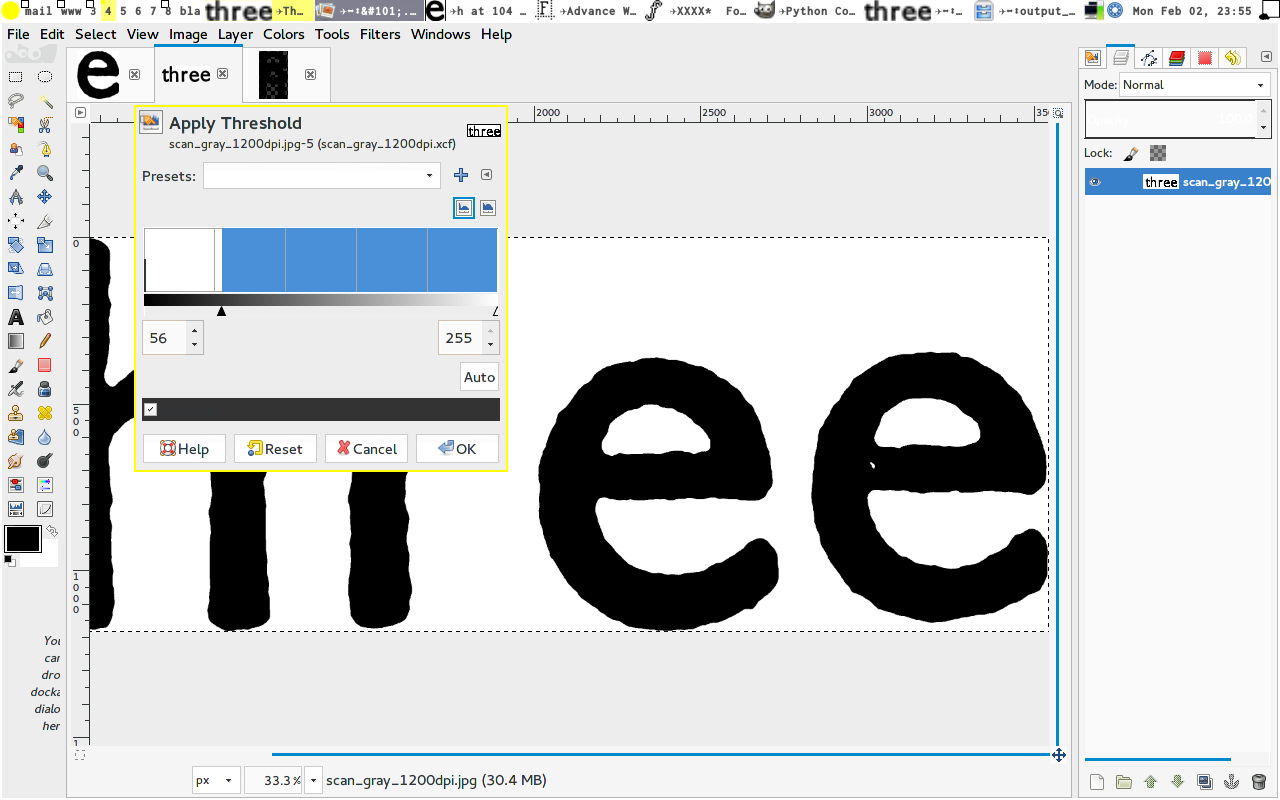
### Threshold
### Baseline
When importing a bitmap, Fontforge scales up/down the bitmap so that it fits into the glyph box. If we use GlyphTracer 1.4, this ends up with different scales of glyphs. In order to prevent this, we can put a black rectangle of the height of the maximum ascendant and maximum descendant.
### Bitmap
- Change the color mode to Indexed mode with 1 black/white bit.
- Save as a .bmp file.
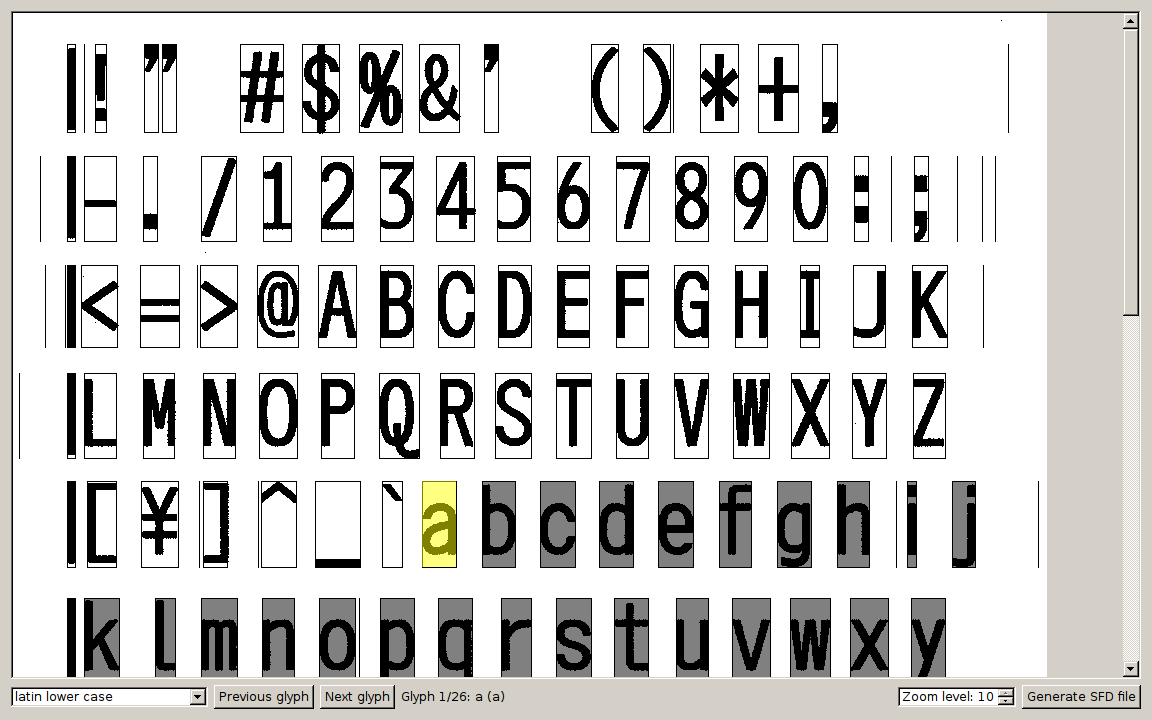
Vectorizing with GlyphTracer
----------------------------
- To launch GlyphTracer, there are two possibilities:
- from your file manager, double-click on the file `glyphtracer` inside the `glyphtracer-1.4` folder
- from the terminal, go to the `glyphtracer-1.4` folder and run `./glyphtracer`. This will let you know more output in case of errors.
- Feed in the .bmp image in 1 bit (otherwise it will complain).
- For each given glyph, click on the letter you want to use.
- Change the characters subset in the bottom left dropdown menu to select more glyphs.
Post-production
---------------
### Merging fonts
In case you want to complete an existing font, you can use the script `mergeFonts.py`.
python mergeFonts.py fonte1.ufo fonte2.ufo ... fonte17.ufo fonte-out.ufo
### Metrics and kernings
A big part of type design is about managing the white space around the letters (metrics) and exceptions for specific couples of letters (kernings).
- For the metrics, we make an auto-spacing while generating the .sfd file with GlyphTracer.
- For the kernings, you can try the tool (Kernagic)[https://github.com/hodefoting/kernagic].
But if you want to get back metric and kerning data from an existing font, you can use the script `mergeSpacing.py`. It can be any font format than `.otf`.
python mergeSpacing.py font.otf original-font.otf spaced-font.otf
Troubleshooting
---------------
### My image is too big to manipulate it.
Split it into several images and generate several .sfd files. Then you can merge the fonts with the script `mergeFonts.py`.
### From the terminal, I have the following error:
File "./glyphtracer", line 415
except Exception, e:
^
SyntaxError: invalid syntax
This means your fontforge runs with python3, whereas the majority of installs run still with python2. I didn’t find a convenient way yet to maintain both versions at the same time. Let me know and I send you the version for python3 which I use.
### I have several shapes overlapping on the same glyph
This is probably because you generated twice the font. I’m afraid you’d have to close and restart GlyphTracer.